Get Started Downloads Guides Videos File Upload
Secure-Client Install
Note: These screenshots may be an older version, however setup is the same.
Step 1
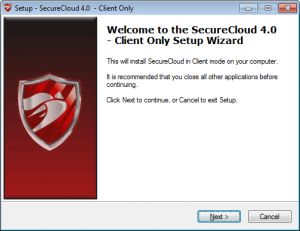
Select the install file after downloading Secure-Client_4_2_0_SP_Client_Only
Step 2
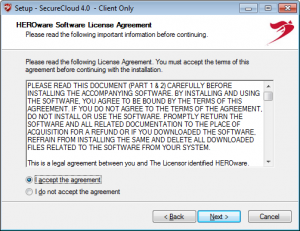
You must accept the License Agreement to continue.
Step 3
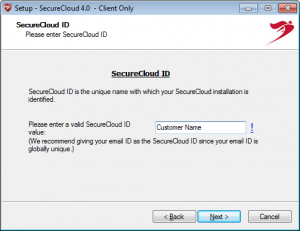
NOTE: SecureCloud ID is important! This should be unique per Defender or Client.
Example:
If your cutomer’s name is “XYZ, Inc.” always use the customer’s name in the ID. Best practices would be “Defender-XYZ” or “XYZ-Jane-Desktop” – this will help identify your backup job so it’s placed in your reseller’s account.
Step 4
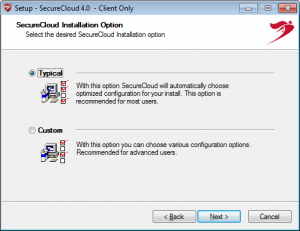
Select Typical install which will install SecureCloud as a service and take the default install location of C:\HEROware\Securecloud.
Step 5
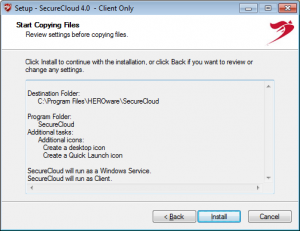
Review settings and installation location. Use the Back button to edit information.
Step 6
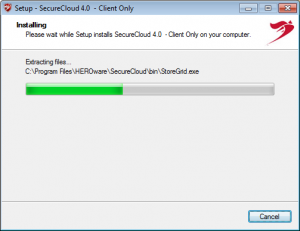
Do not interrupt installation. Installation should only take a few minutes.
Step 7
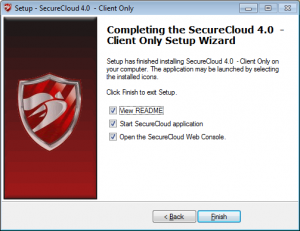
Click Finish to finalize your installation.


 +1 951 223 1648


